How to Guide
For a list of Tools and Materials, please click here
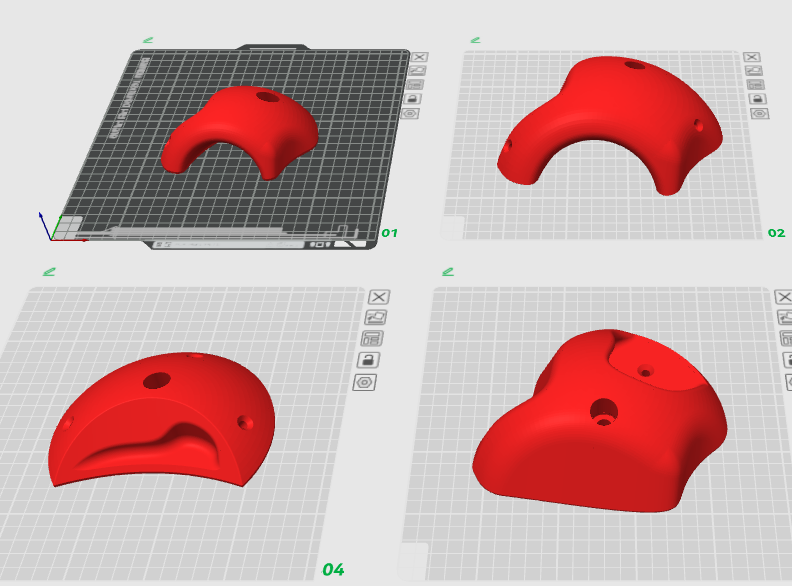
Step 1 is of course to buy one of our packages and download the print files. Click here to Download Now.
PRINTING
WARNING: USE PETG FILAMENT ONLY! All other materials react negatively with polyester resin.
- .4mm nozzle only, .2mm layer height. As we have a print-in-place bolt shaft, these settings are essential. (Note: We will release an update with separate bolt shafts so that larger nozzles and layer heights can be used.)
- 100% Infill
- 4 walls
- Raft 2 layers .25mm gap (this may need to be customised to your machine)
- Tree supports
After printing you’ll need to tap out the print-in-place bolt shaft. This reveals the washer seat. You can find a printable punch tool in the Accessories folder of your downloaded zip file. Whilst sitting, grasp the hold in your hand and rest against your leg, place the punch tool into the bolt hole and give a sharp tap with a small hammer.
Place a 3/8″ stainless steel washer in the seat and place some super glue along the rim. Now place the bolt shaft back onto the washer seat and allow time for the glue to dry. The glue helps seal and keep in place the bolt shaft so that the resin doesn’t seep into the shaft.
You’re now ready to cast!
Note: You may choose to texture your holds now. We find it’s best to do texturing after casting, so that any spillage can be cleaned up and then surface textured over resulting in the best finish possible.


CASTING
NOTE: You must use an appropriate Respirator when working with Resin. See our Tools and Materials page for more info.
We recommend Polyester Tooling Resin as it is the cheapest and has good properties for this use case. You don’t need a high quality resin.
Visit our Suppliers Page to get help finding a supplier for your resin and accessories.
Pricing: 20kg of Polyester resin with catalyst sets you back about $265 AUD.
Sand
You’ll need sand to mix with the resin, for the casting process as a bed, and for finishing. A 20kg bag should cost about $10 AUD. It needs to be dry, so spread it out on some plastic and let the sun dry it over a few hours. We use Washed Sydney Beach Sand from Bunnings.
Cast Setup
Place some sand in a wide container and place your hold upside-down in the sand, roughly leveling it by eye. We’ll do the pour in stages, the first (few layers are) rough, the final needing a perfect level which we achieve by using the resin as the level against the mold rim (more below).
Resin Mixing
It’s important to get your quantities right, but do so in the container you’ll mix it up in.
Use paper cups for mixing.
Create a marker cup with marks at 100, 200 and 300mls. Place the marker cup next to the mix cup for reference. Pour the resin into the mix cup to the desired mark. 300mls is a good amount for pouring. 100mls is good for texturing a few holds.
Now add the catalyst to the prescribed %. For the Polyester we buy it’s 2%. Use a Catalyst Measuring Bottle to measure the exact amount and add it to the resin. Mix very well ensuring to scrap the sides of the cup. You’ve got enough time to not rush so make sure it’s mixed well.
Add dry sand 30%. Mix well.
Now pour into your holds in roughly 25-40mm (1-1.5 inch) layers. With any left over resin in the container, just pour it into another hold. We like to always have a large hold printed to be used as an excess resin dump hold. Eventually it fills up. This is actually a good method for the larger holds to keep curing temps low. If you cast too thick in one go temps can reach almost boiling point!
Let that set for a few hours (depends on ambient temps) then come back and finish the pour. For the final layer, don’t add an sand, we want a runny fluid to help with levelling and sand can also wear your sanding belts faster.
As you pour the final 20%, keep an eye on the fluid level against the rim of the hold and adjust the hold position in the sand to level.
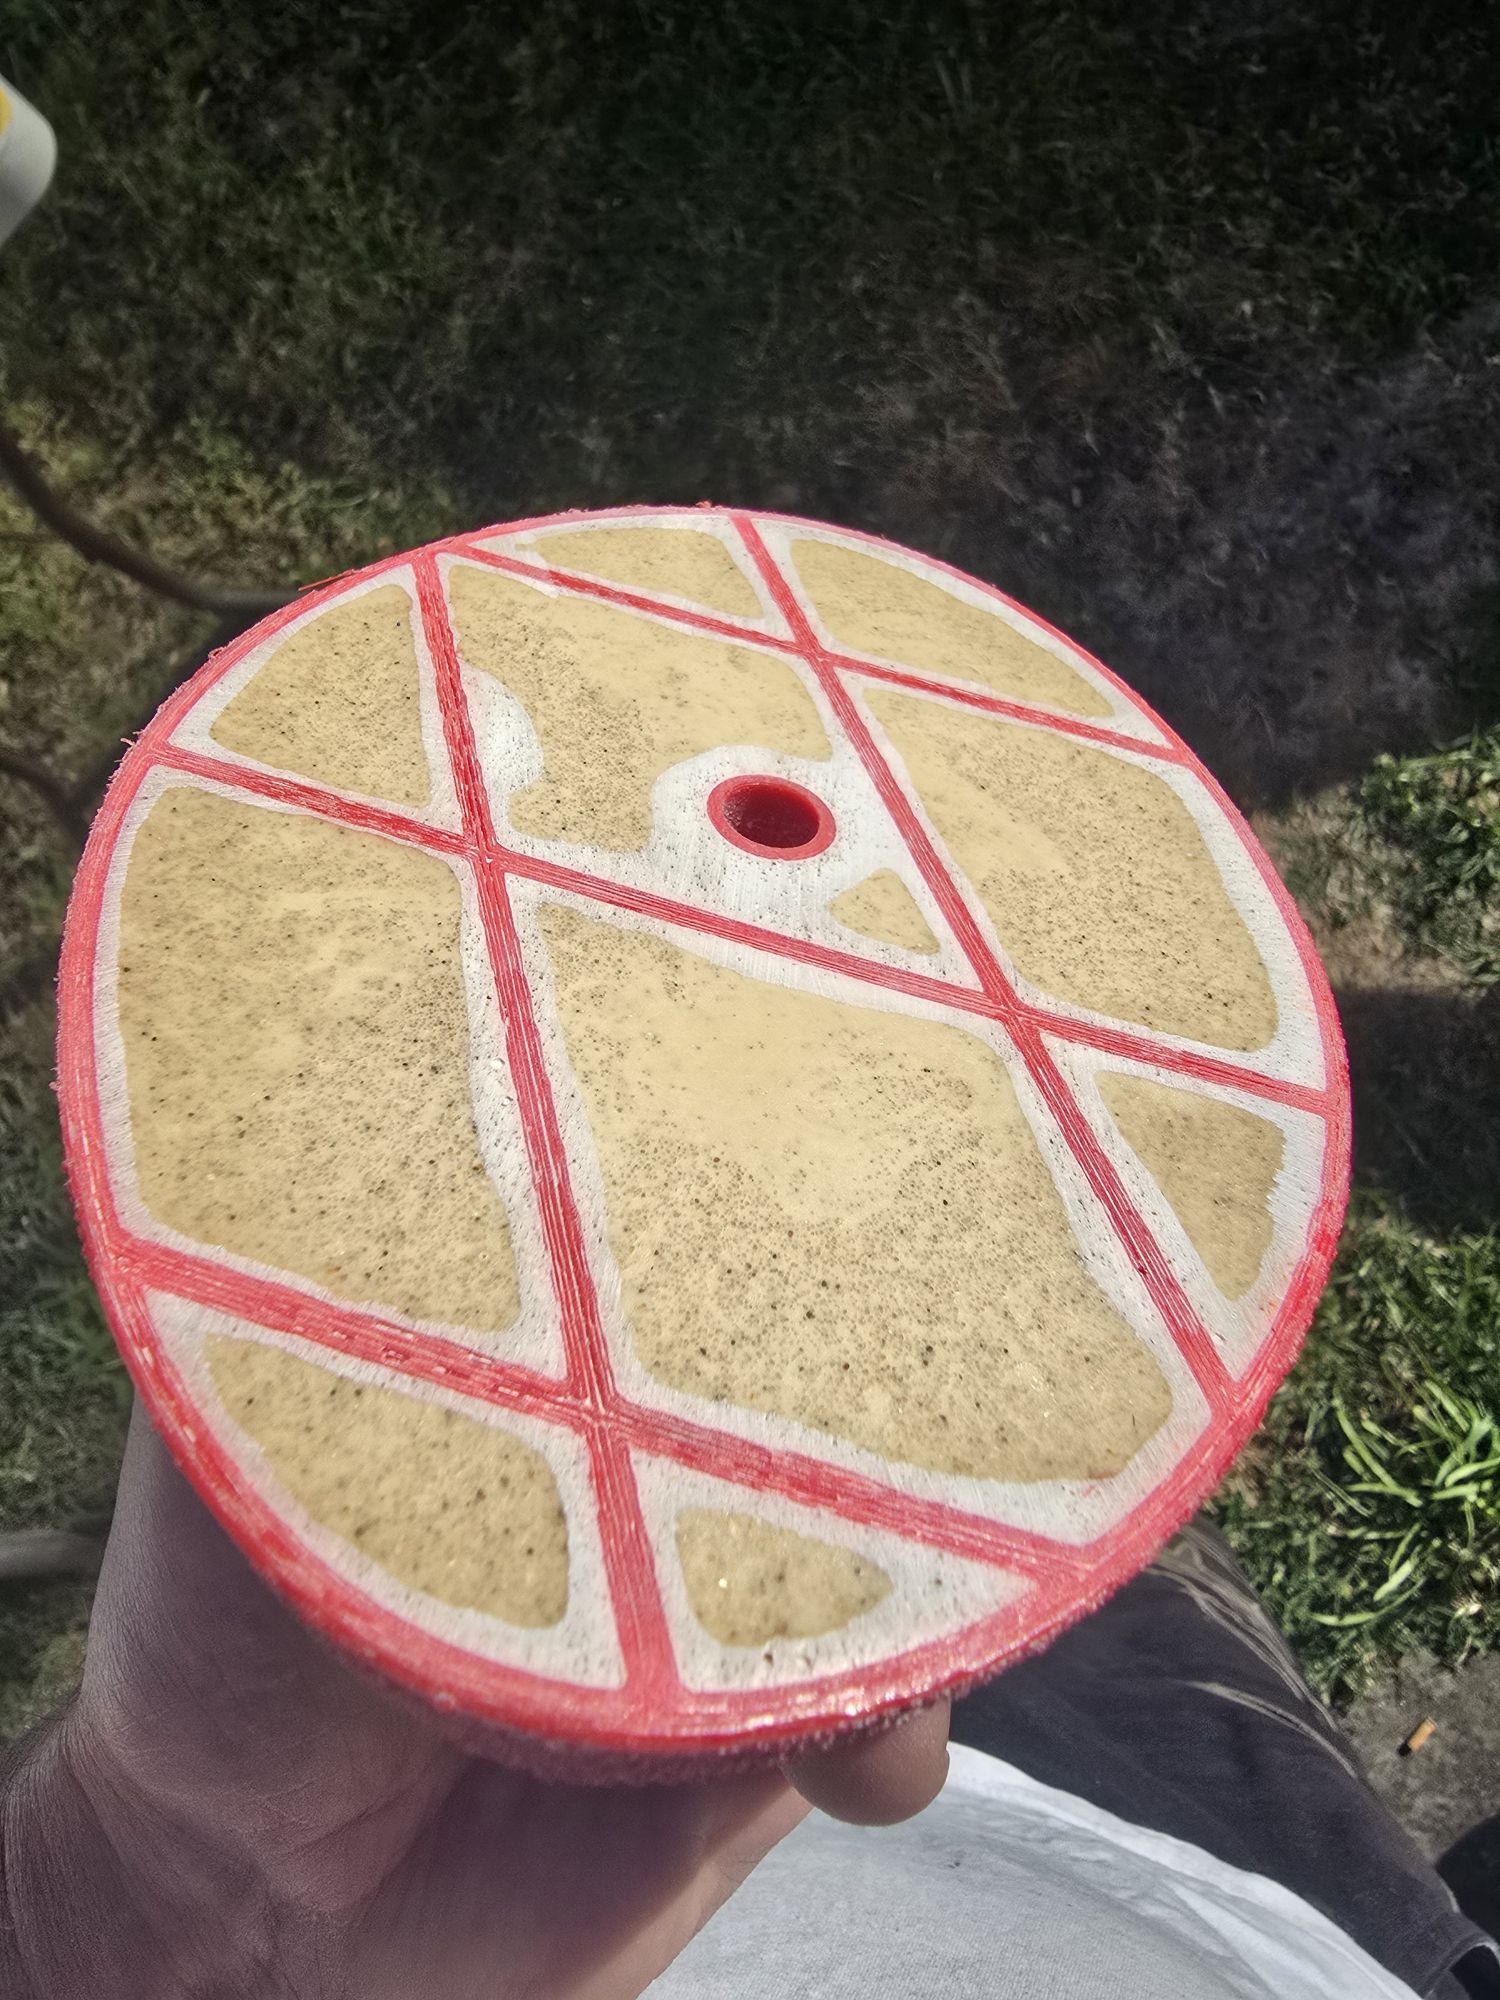
Fill to the edge lines, not the bolt shaft which will always protrude by 1.95 mm which is the thickness of the washer and the airgap from the print-in-place. It is best to slightly underfill than overfill. A slight underfill will show a nice surface tension evenly around all the edges. The cross bracing also helps in this. After final pour, have a look at all your holds and ensure they are level. As the resin sinks to its final resting place over a few minutes, you might notice slight level changes are needed.
WARNING: DO NOT TOUCH CURING RESIN. Temperatues can become quite hot.
Leave to set. Tooling resin changes colour obviously as it sets.
Once cured, sand the base with a belt sander. 40 grit works well. A benchtop belt sander is best. After a dozen pours your levels will be so good you’ll hardly need any sanding.
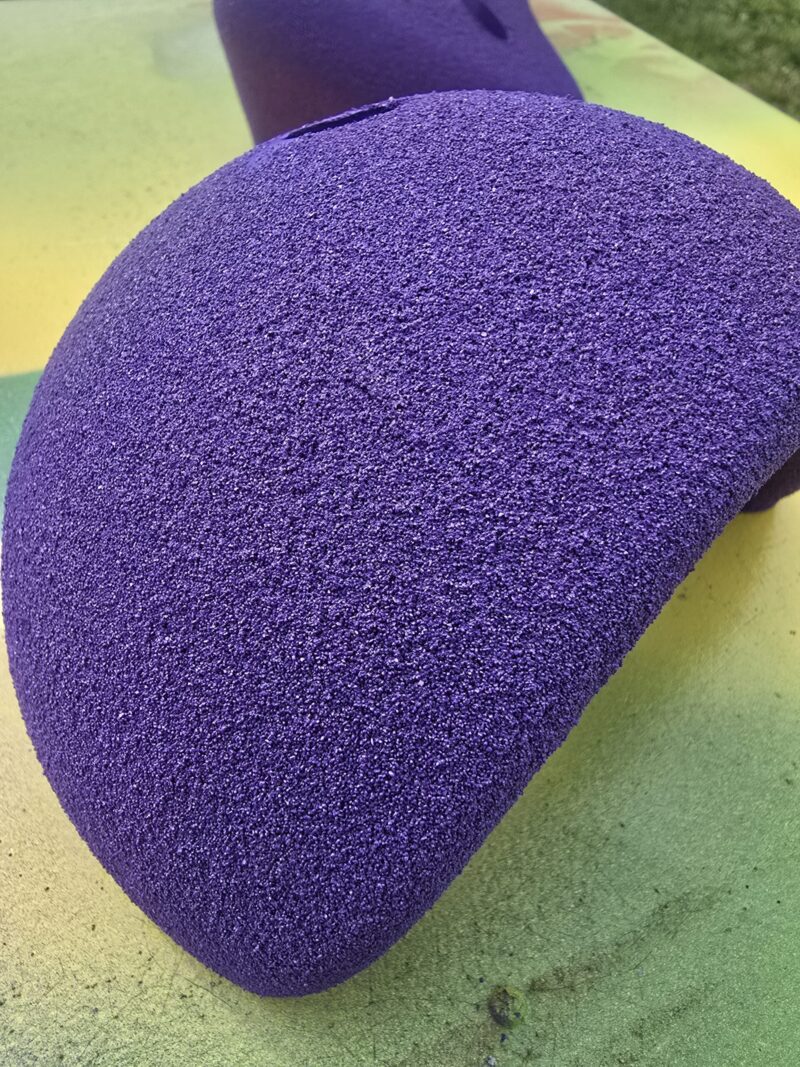
Now you’re ready to texture your holds. Getting close to being able to climb them!
How to Texture your climbing holds: click the button to learn more…